
The controller is great for usage with a quantizer for pitch CV or with a sample and hold for any other CV parameter.
During my first tests I learned that an attenuator is key to setting the CV range so for my next build I’ll add that into the build.
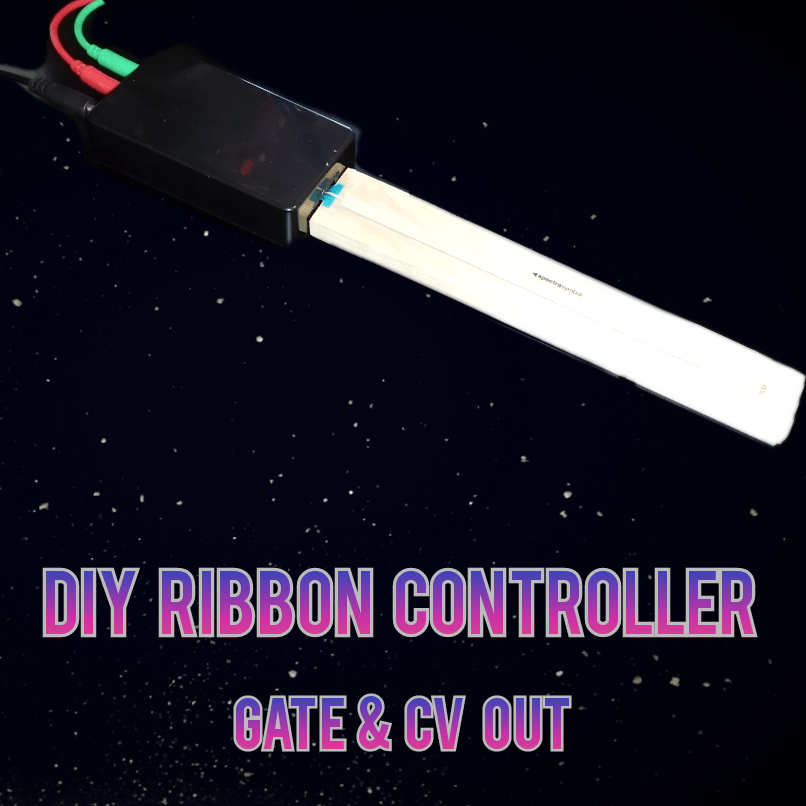
The case is a small ABS project box I got from Amazon. I won’t add a link because availability will change all the time. The whole thing is sitting on a piece of aluminium and the softpot sitz on a well sanded piece of wood that was coated with clear paint. Double-sided tape holds everything together.
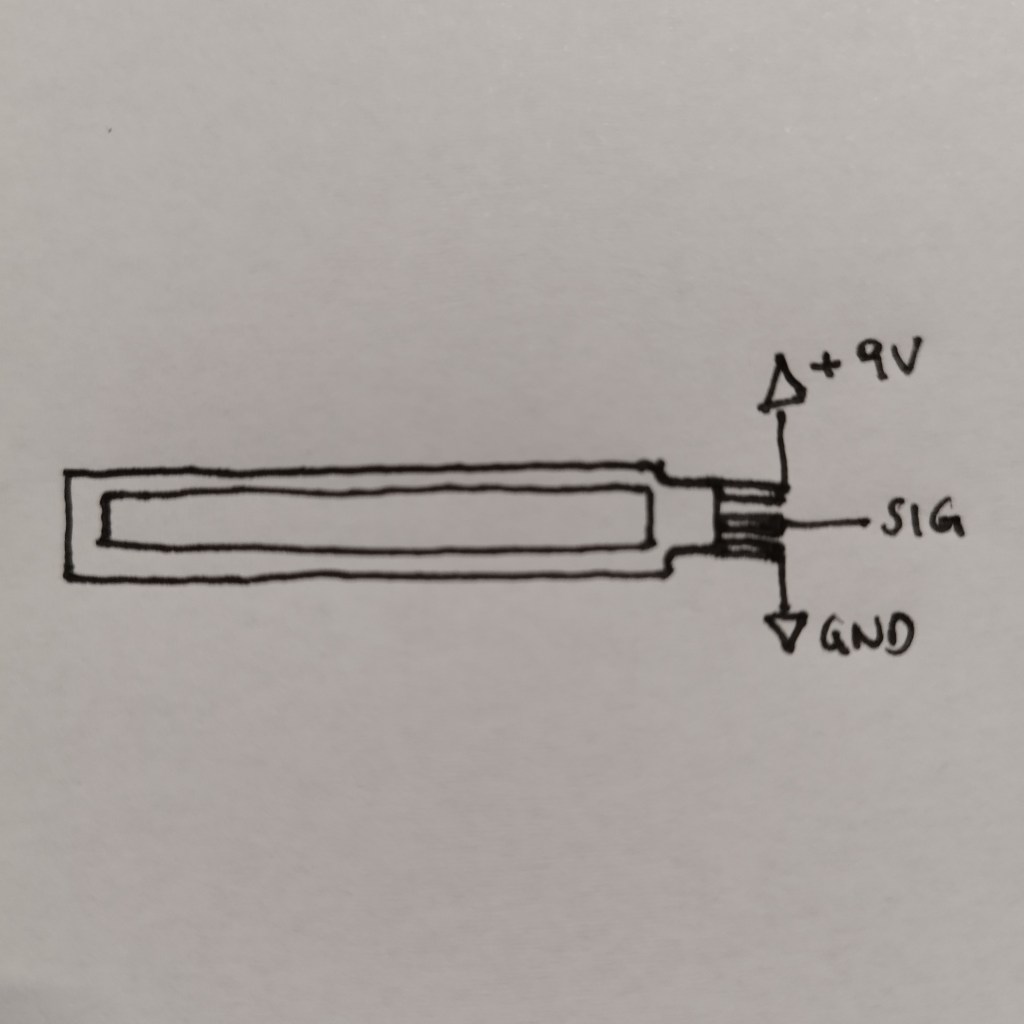
The connections are a barrel jack for power the gate output and the CV output.

If you want to substitute the OPAMP please check the datasheets. The LM358 runs on unipolar powersupply.
How to improve this?
As mentioned before adding an output attenuator to the CV out maybe useful. Also adding a LED to the gate output using a transistor LED driving circuit would be luxurious. If you have any other ideas lmk.
