
These Modules are mostly tried and tested designs modified to fit my needs. All of them are working and are in use in my racks. I offer them as trade objects or sell spares. You can check them out on my instagram.
If you wanna purchase modules or PCB panel sets pls DM me on Instagram or contact me on discord.
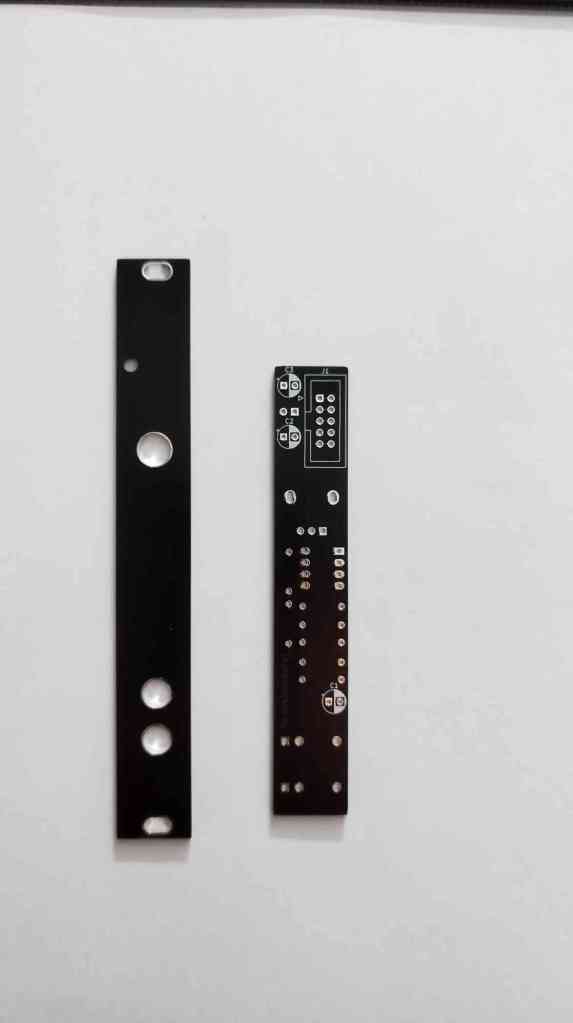
AMP
3hp – line level amp – input gets amplified by 0x-100x – interface: 2 sockets (input, output) and 1 potentiometer (gain)

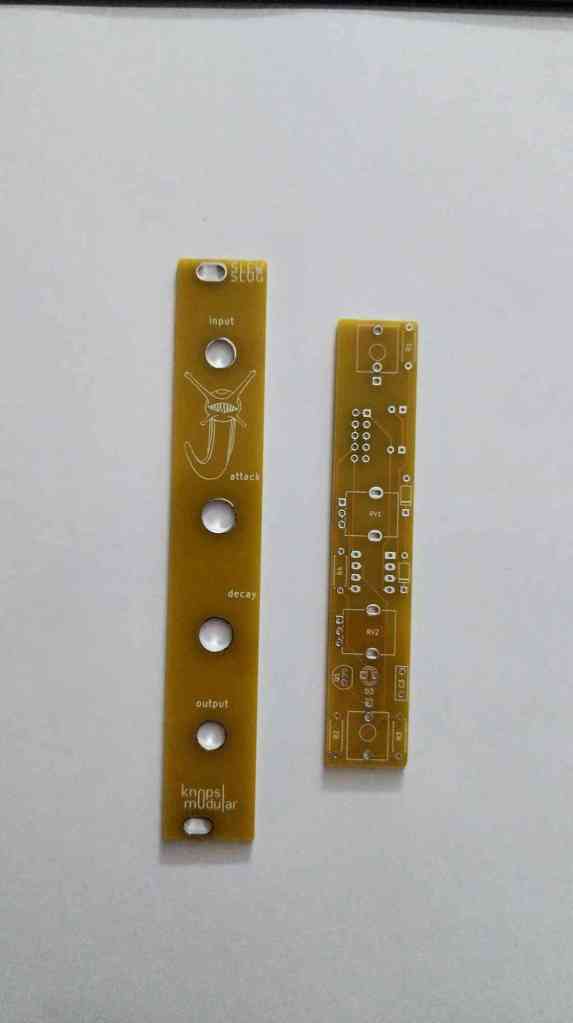
SLEWSLUG
4hp – slew limiter with variable a attack und decay phase – interface: 2 sockets (input, output), 2 potentiometers (attack, decay)
DISCONTINUED and OUT OF STOCK!

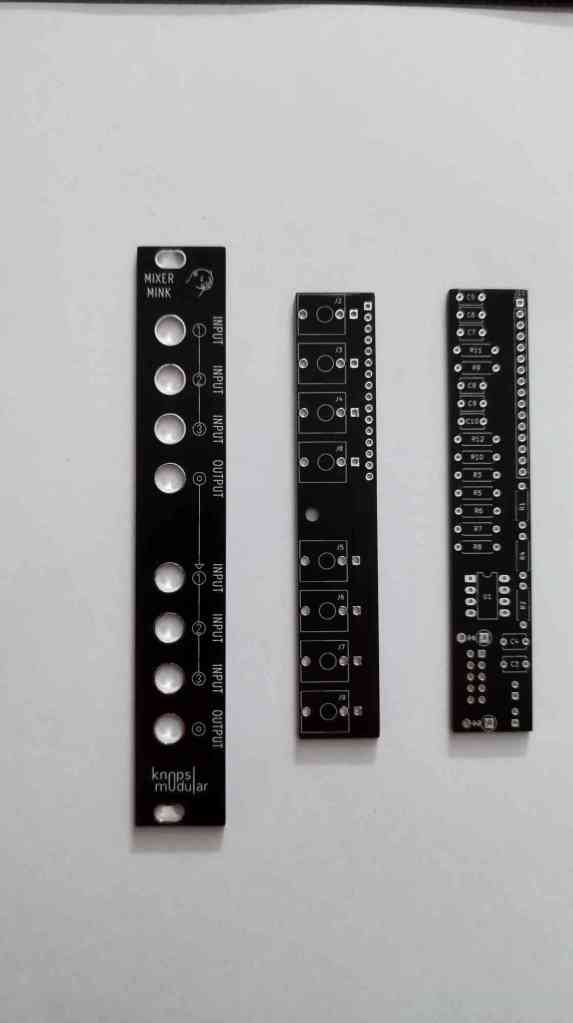
MIXER MINK
4hp – unitygain mixer 2x 3in-1out oder 1x 5in-2out(first stage outputs only first three inputs mixed, second stage outputs all the above inputs mixed)
build info: the diodes near the IDC header are reverse voltage protection diodes. You can use 1N5819 or 1N5817 or similar. Pls check the data sheets before you substitute. The white ring is the side where the ring in the diode goes.
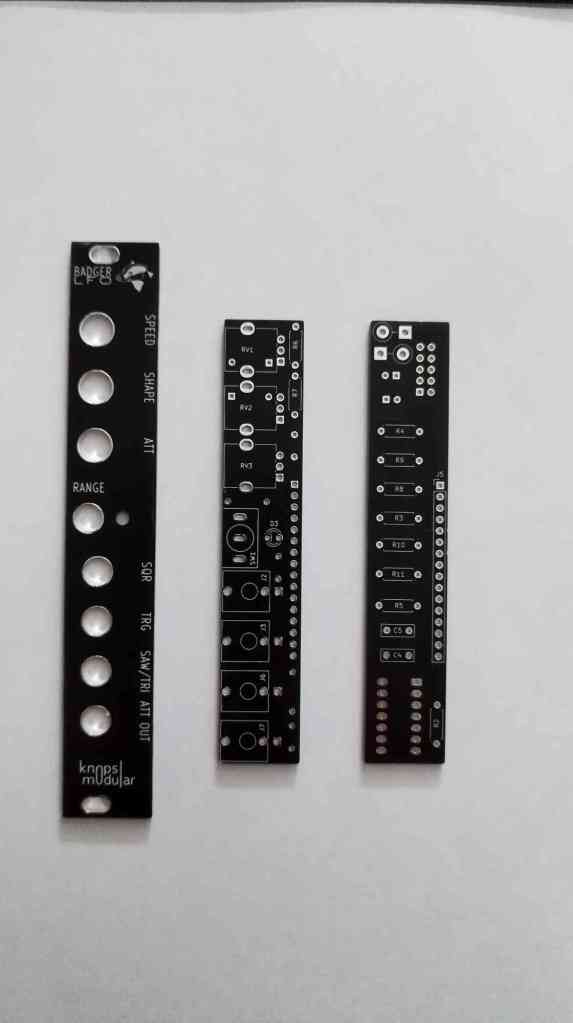
BADGER LFO
4hp – interface: speed, shape und attenuverter pots, outputs: square, trigger, variable shape (saw/tri, reverse saw) and the last one is an attenuverted version of the variable shape out .
OUT OF STOCK! – reprints will only happen if there’s enough demand.
build info: the diodes near the IDC header are reverse voltage protection diodes. You can use 1N5819 or 1N5817 or similar. Pls check the data sheets before you substitute. The white ring is the side where the ring in the diode goes.
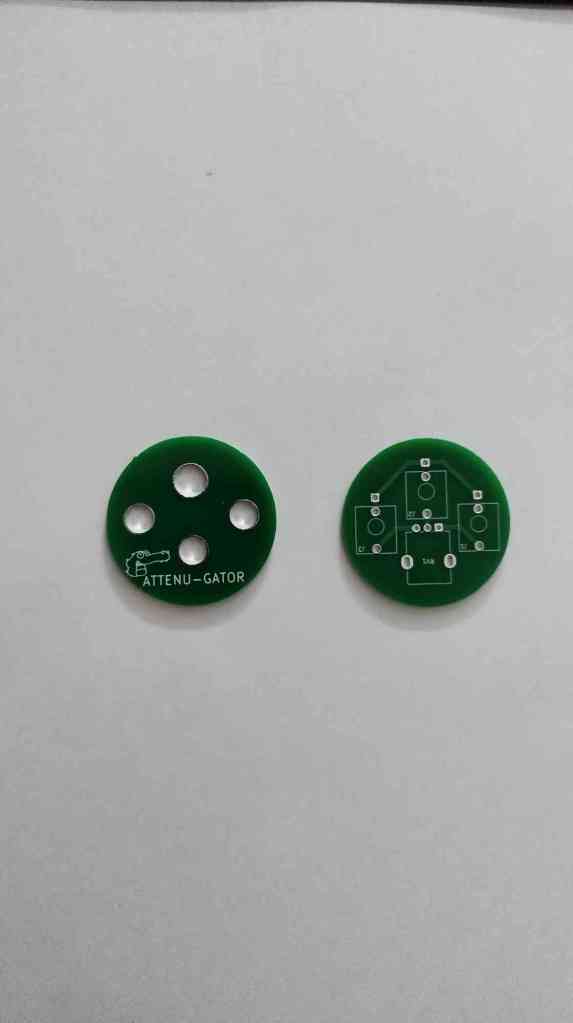
ATTENU-GATOR
0hp attenuator / passive crossfader – interface: 3jack sockets (potentiometer logs directly connected, switch pin always grounded), potentiometer (crossfade or attenuation function)

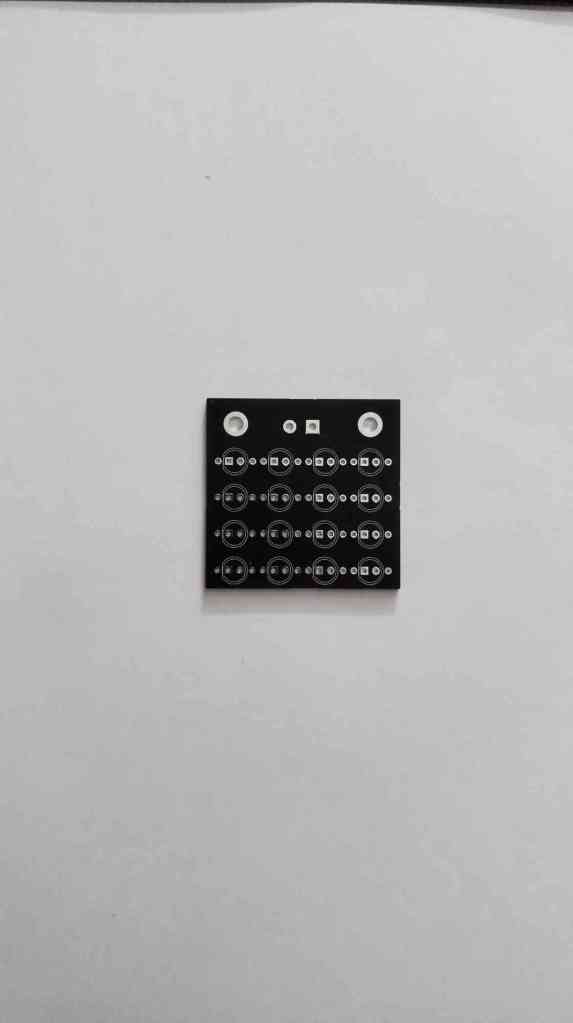
CHAOS MATRIX
4×4 blinking led matrix
build info: start with the resistors and snip the bottom as close to the pcb as possible 😀

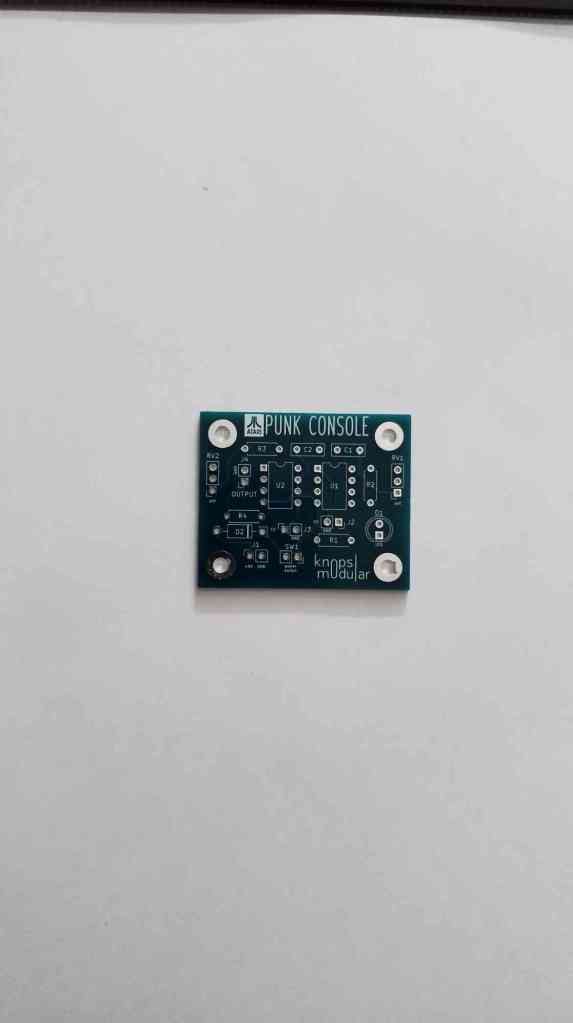
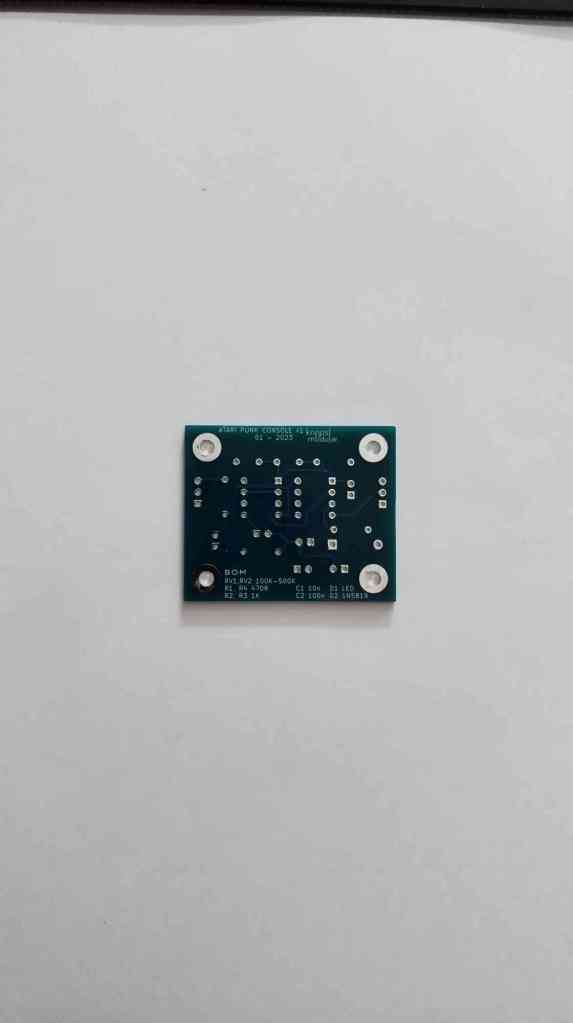
Atari Punk Console
classic Atari Punk Console with optional CV for both 555 timers, optional switch, optional on/off indicator LED interface: 2 potentiometers, audio output
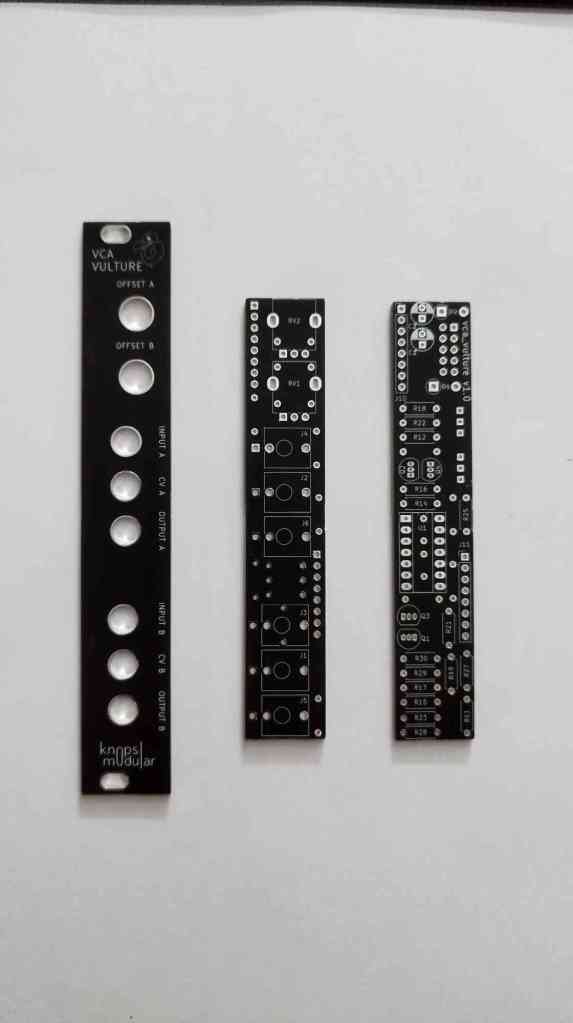
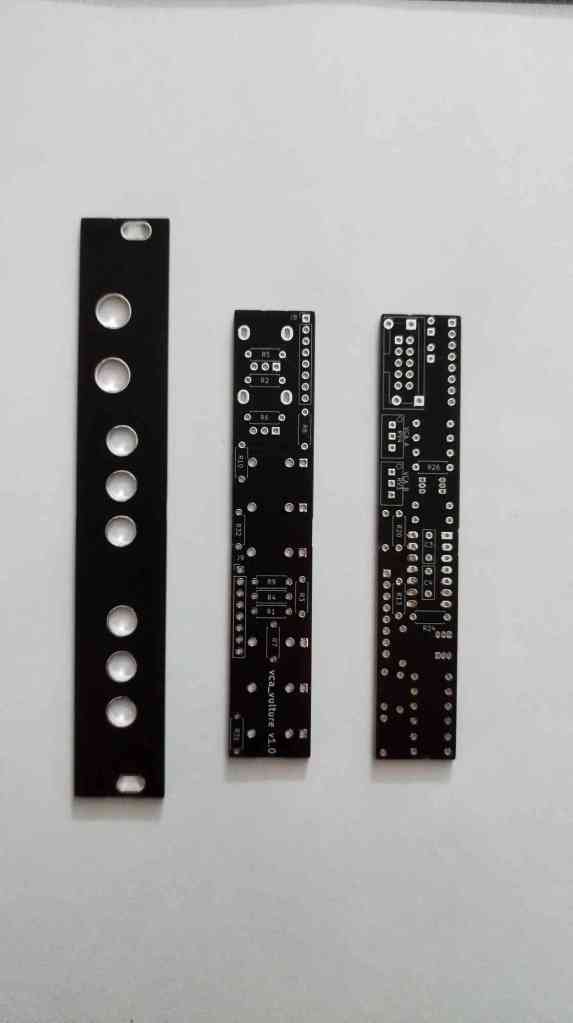
VCA VULTURE
4hp – dual linear VCA (moritzklein design) – interface: each VCA has an offset potentiometer, CV socket , input socket, output socket
build info: the diodes near the IDC header are reverse voltage protection diodes. You can use 1N5819 or 1N5817 or similar. Pls check the data sheets before you substitute. The white ring is the side where the ring in the diode goes.
OUT OF STOCK! – reprints will only happen if there’s enough demand.
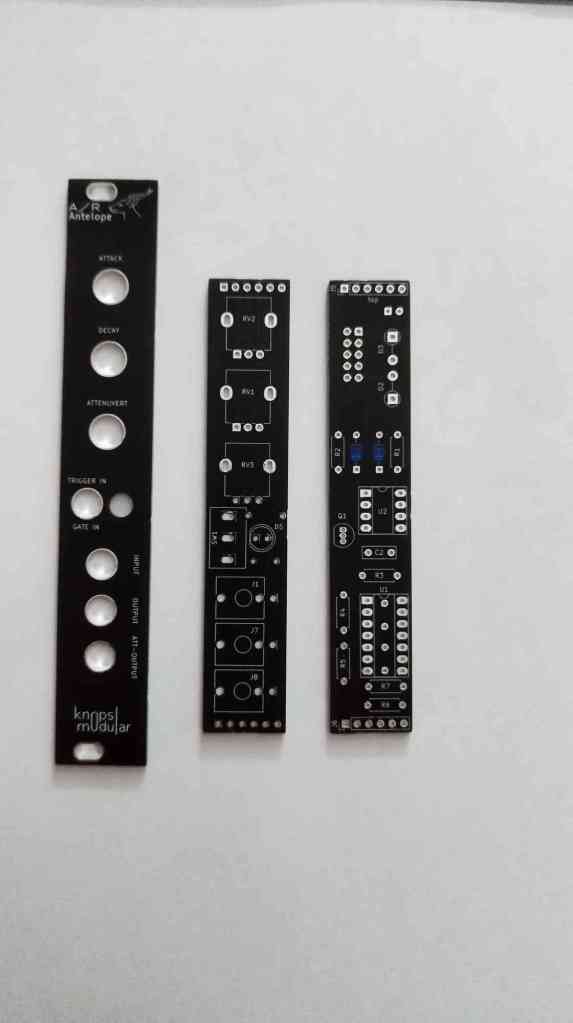
A/R ANTHELOPE
4hp – A/R Envelope – modified thomas henry 555 design – inferface: attack pot, decay pot, output and attenuverted output – ATTENTION: in the current version the DIODES D1 and D4 are the wrong way around on the silk (should be marked blue on the board)
MULT MULE
2hp – passive mult – interface: 1 input 3 outputs AND 1 input 2 outputs OR 1 input 5 outputs
Attention: This one is a bit tricky. When building please check orientation. The fifth jacksockets switch pin is the only one that is connected.


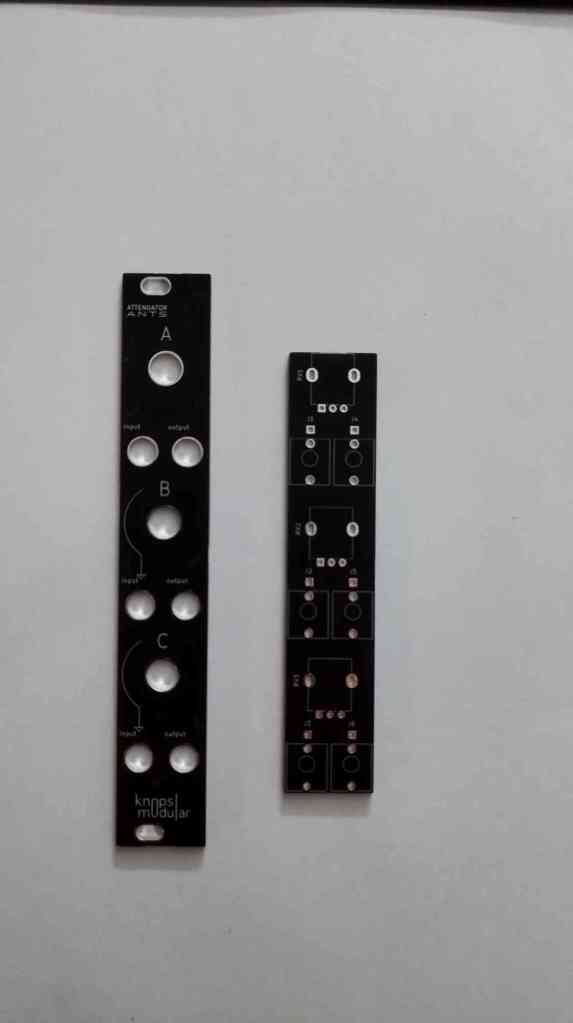
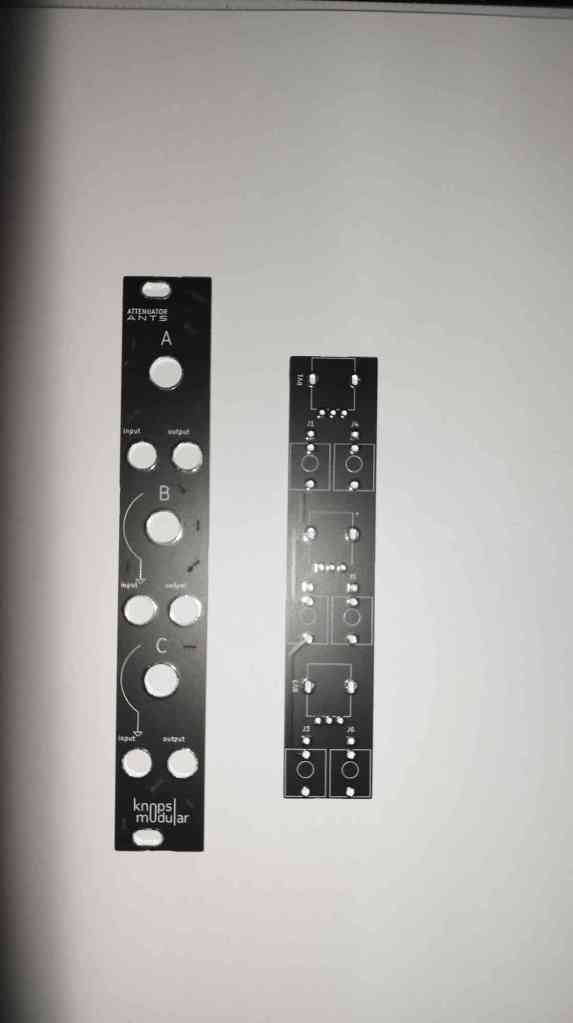
ATTENUATOR ANTS
4hp – 3 attenuators chained, each attenuator input is normalled to the input of the one above – interface: 3x input, attenuator pot, output
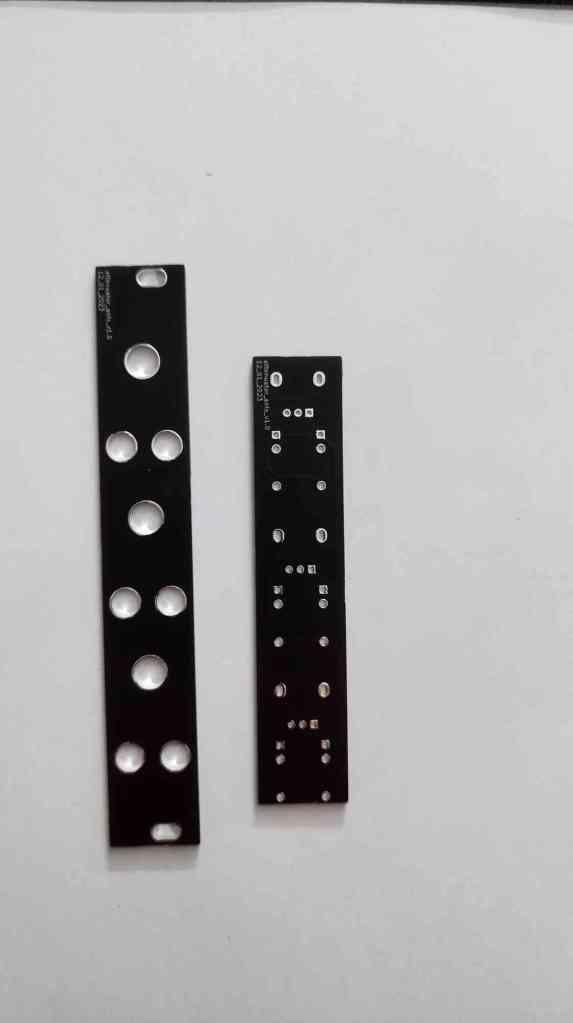
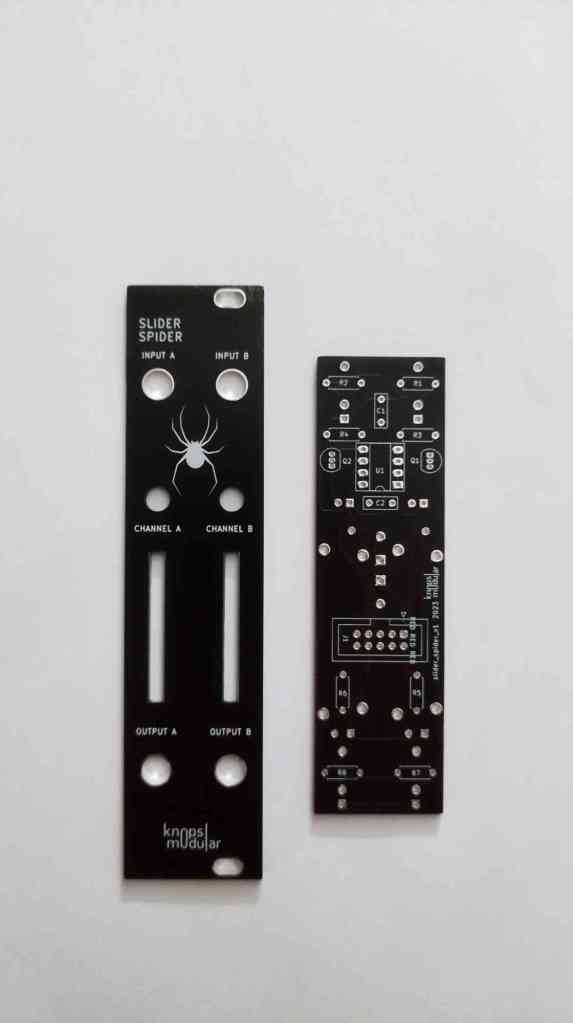
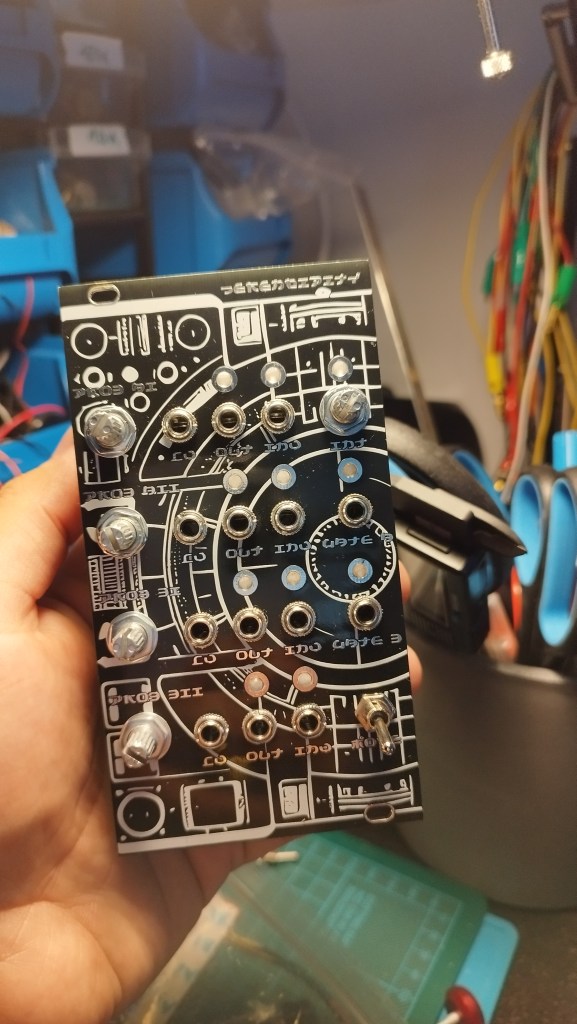
SLIDER SPIDER
6hp – two slider pots that function as either attenuators or if no input is given as voltage generators 0-5V – interface: each line has input socket, slider, output socket and an indicator LED – the frontpanel has two sides to choose from – version 1 OUT OF STOCK! – check for version 2!


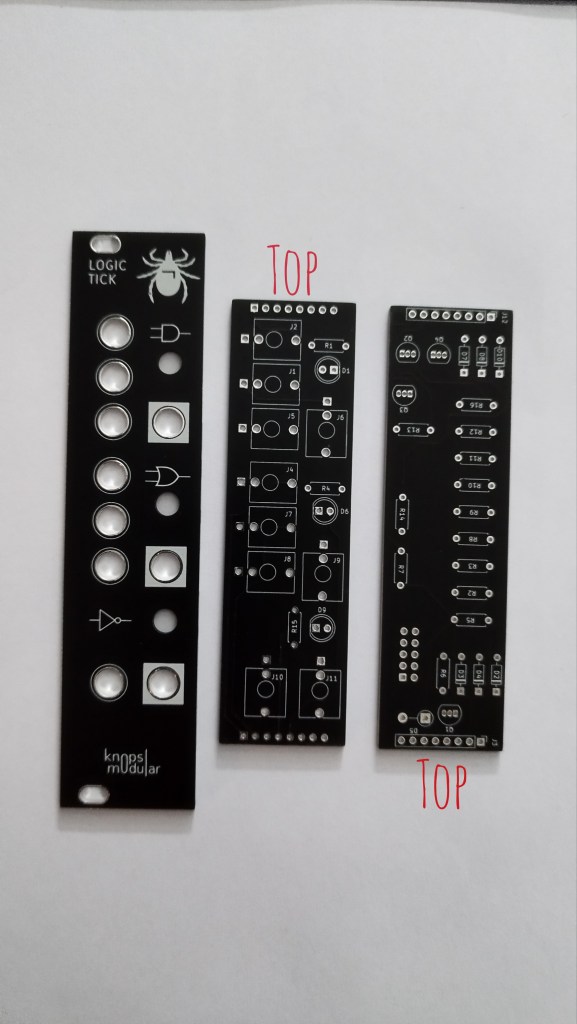
LOGIC TICK
6hp – one AND gate, one OR gate and one NOT gate – interface: AND and OR Gates are 3 input 1 output, NOT Gate is 1 input 1 output. All of the outputs have indicator LEDs – ATTENTION: in the current version the LEDs silk is wrong way around → so the square hole is the + side of the LED!
Also check out the third picture before connecting the two halves using header pins. I usually put the power connector at the top.

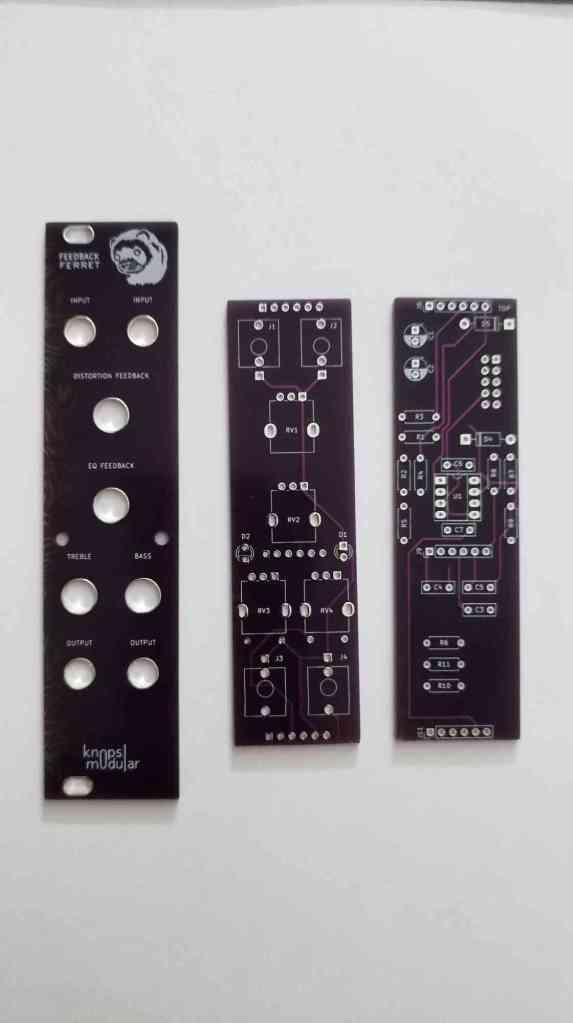
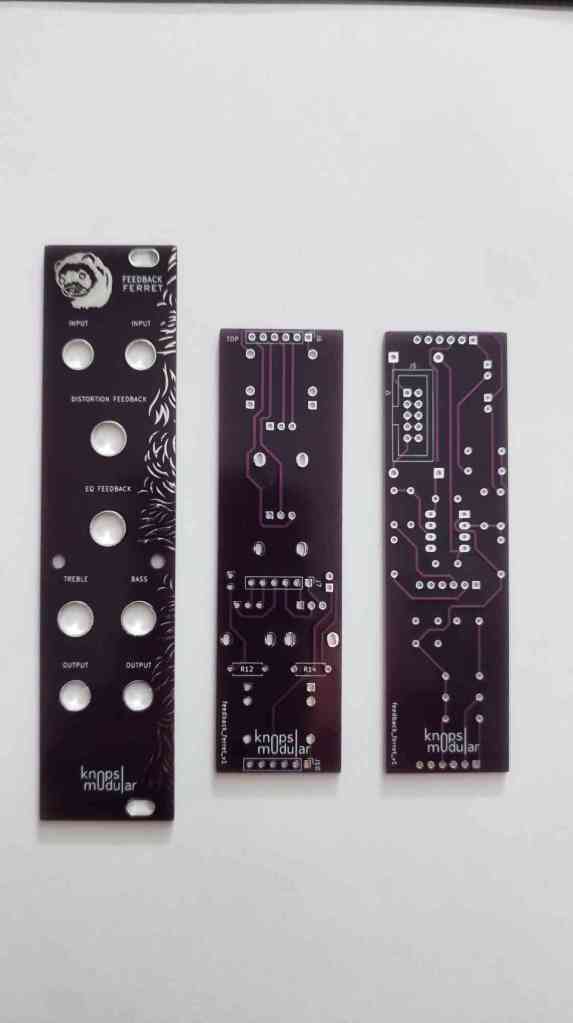
FEEDBACK FERRET
6hp – feedback module using two internal feedback lanes and one possible breakout for sound shaping – interface: two inputs and two outputs, attenuator pots for both internal feedback lanes (clipping and EQ) and treble and bass (hpf, lpf) pots of the EQ – the frontpanel has two sides to choose from
OUT OF STOCK! – reprints will only happen if there’s enough demand.
Build info: the top pots should be logarithmic if possible to make the dialing in of the internal feedback lanes easier.

ATTENTION: feedback can get really loud any screaming pretty fast so be cautious and dial the outputs down before you play with the feedback ferret.
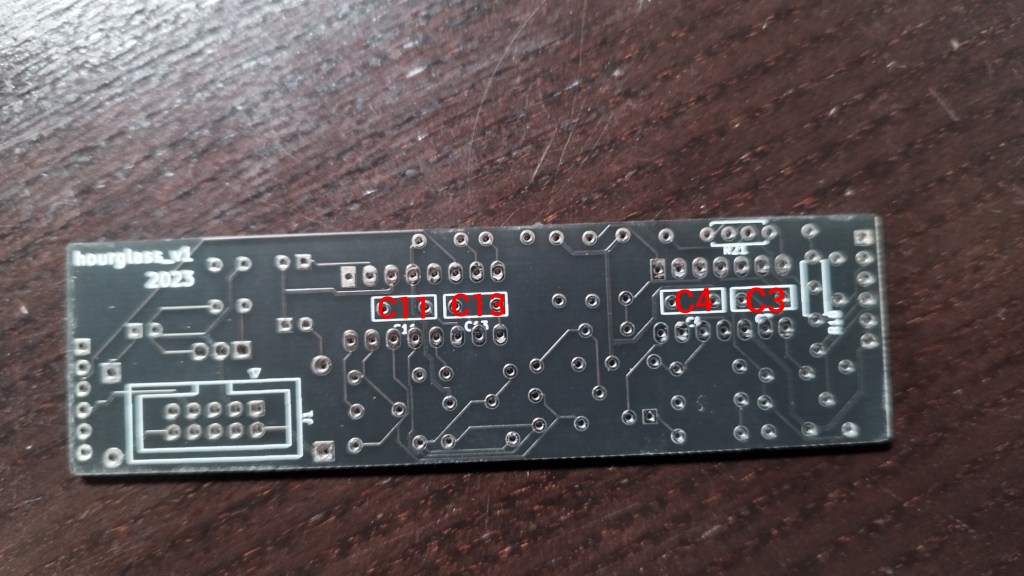
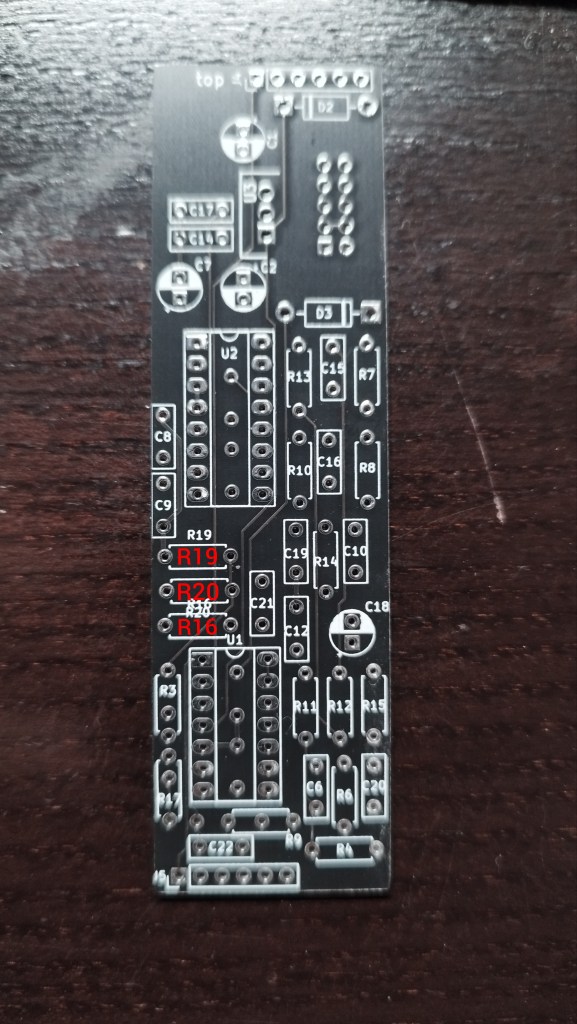
HOURGLASS
6hp – THT clone (with added protection diodes) of benjiaomodulars MiniDelay – interface: indicator (on/off) LED, timepot, repeats pot, level pot, input socket and output socket.
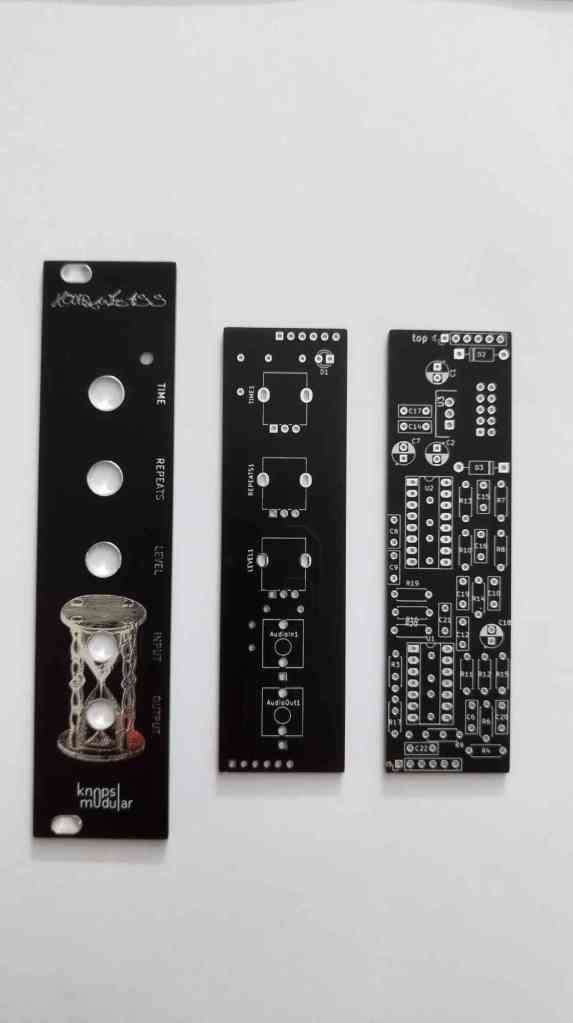
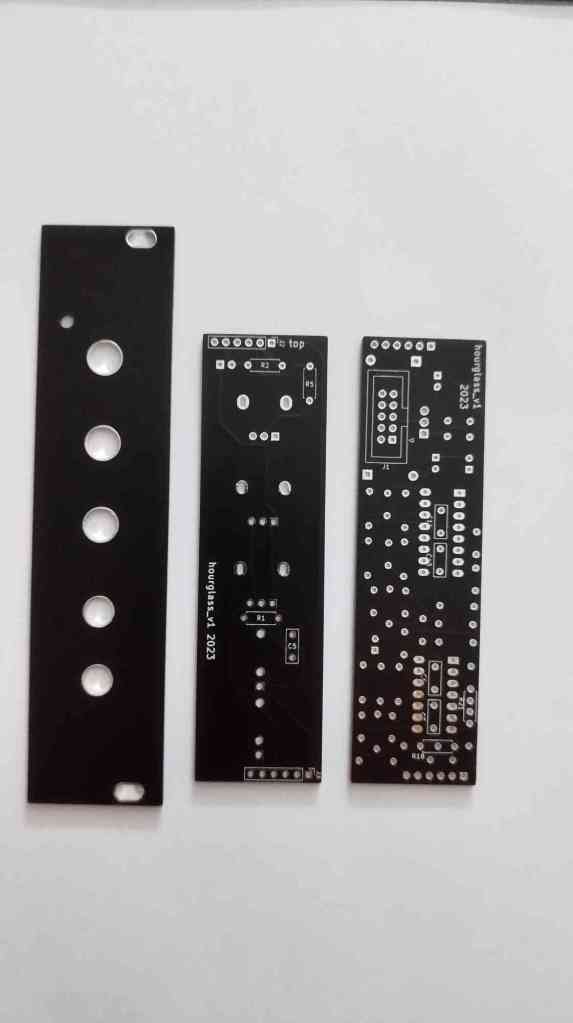
ATTENTION: The references on the silk are a bit confusing in two places. This is why I added two pictures to clarify it for the builder. Also the silk of U3 the voltage regulator is on the wrong side of the PCB!
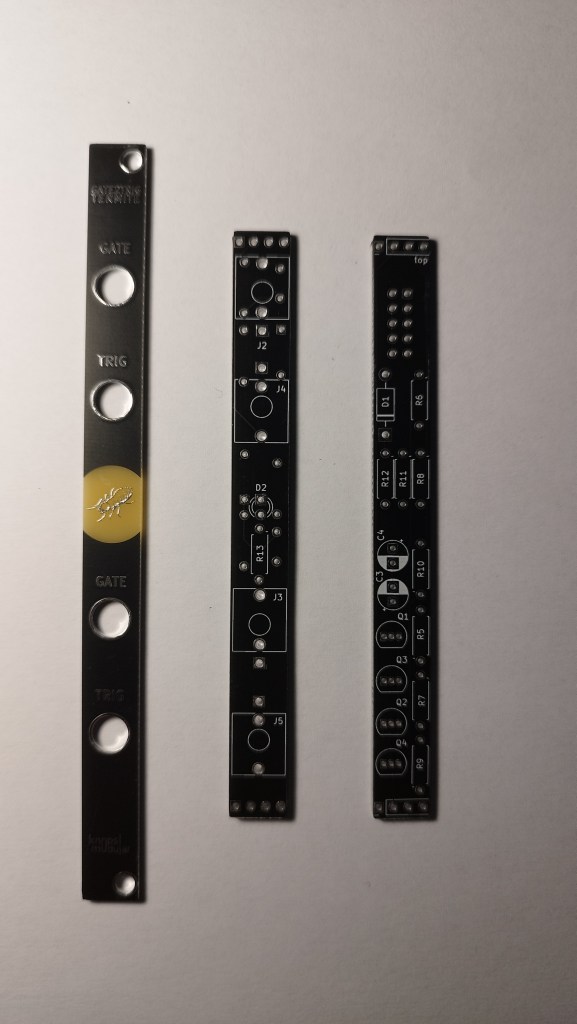
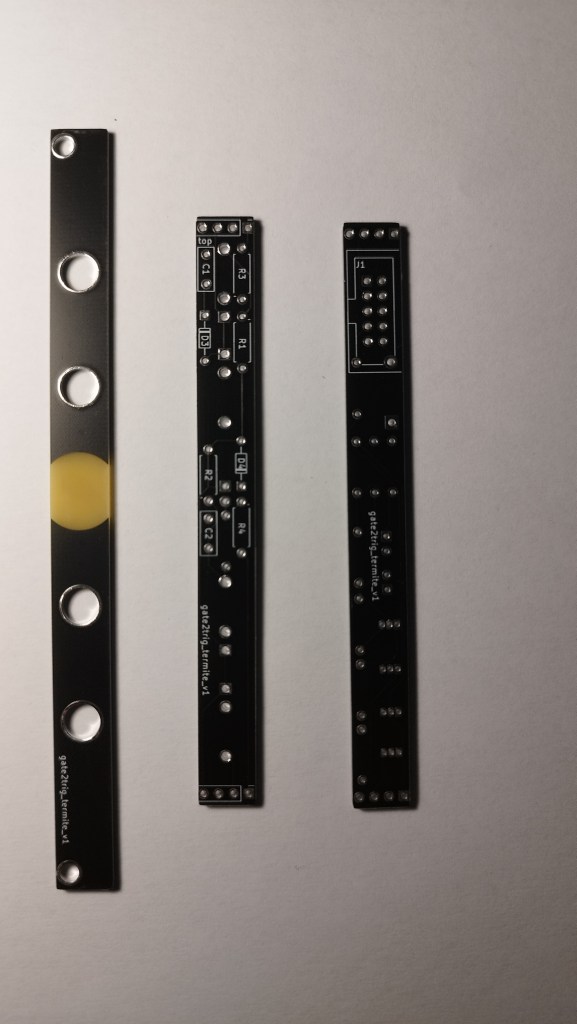
GATE2TRIG TERMITE
2hp – transistor based dual gate 2 trigger module taking ~2V input and has ~5+V output (really hard to measure because it’s such a short impulse) – interface: 2 gate inputs, 2 trigger outputs, 1 LED lighting up the termite when bottom g2t is used.
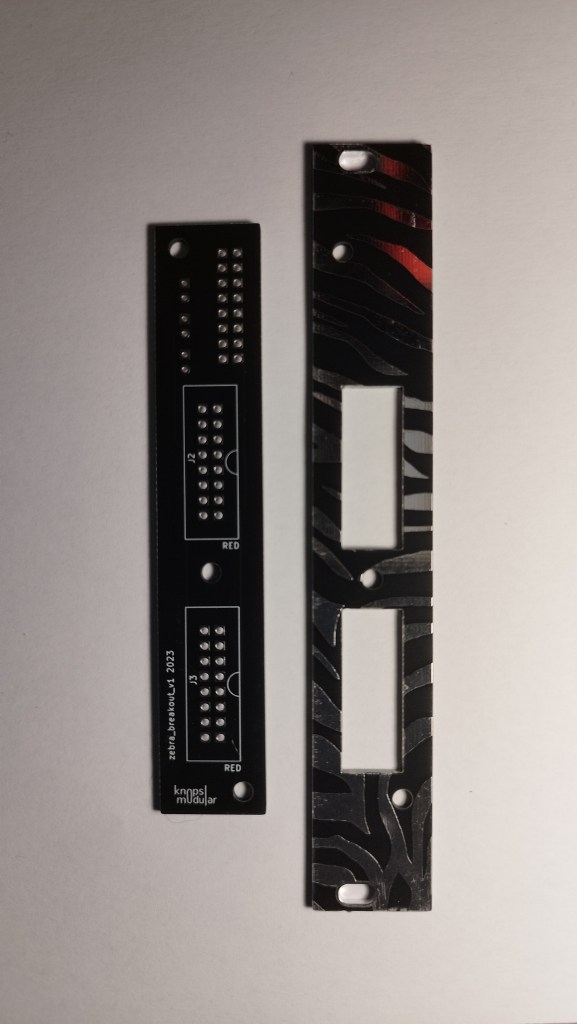
ZEBRA BREAKOUT
4hp – breakout board for dual 16 pin header. useful for any maker and anyone who got more modules than rackspace in general.
build info: you need 3x M3 standoffs (and the screws for both sides) to build this one, I use 10mm black nylon ones to fix the pcb to the panel because most shrouded headers are ~8.7mm high. – OUT OF STOCK! – possibly work on a new version with more connectors.

4hp – I just put this here to have the documentation of my modules complete. It’s probably of no use for others.
you can use it with any AC/AC PSU or my DC/DC setup. It basically switches the power input from the wallwart and takes one 16pin cable to power the indicator leds for +12V, -12V and +5V. My busboards don’t have LEDs so this is perfect for my setup.
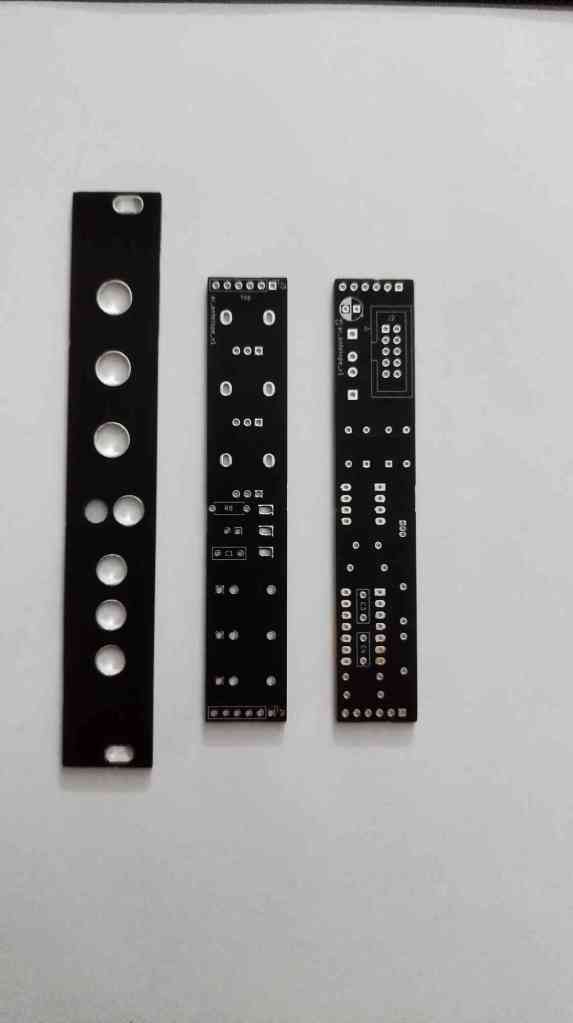
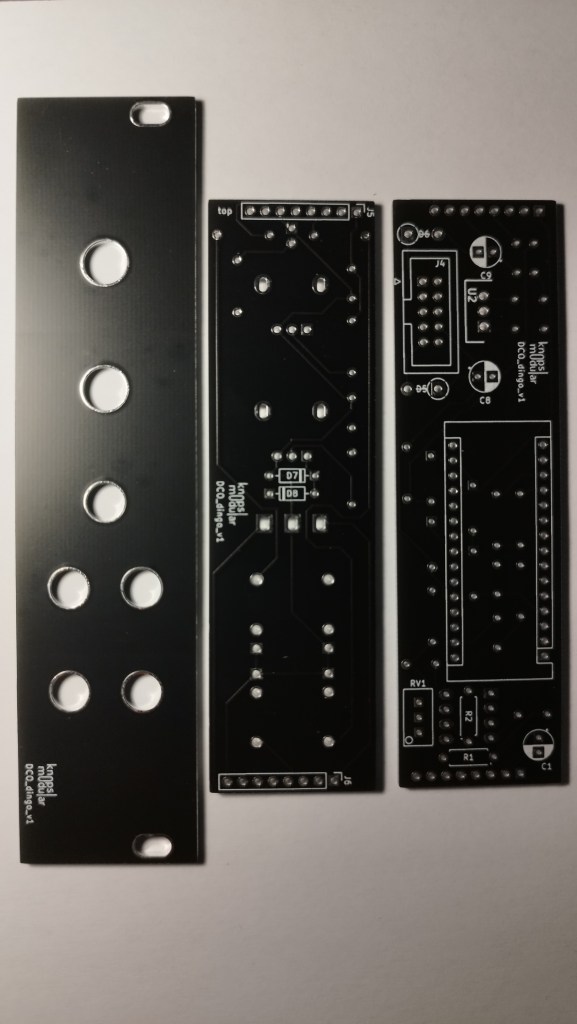
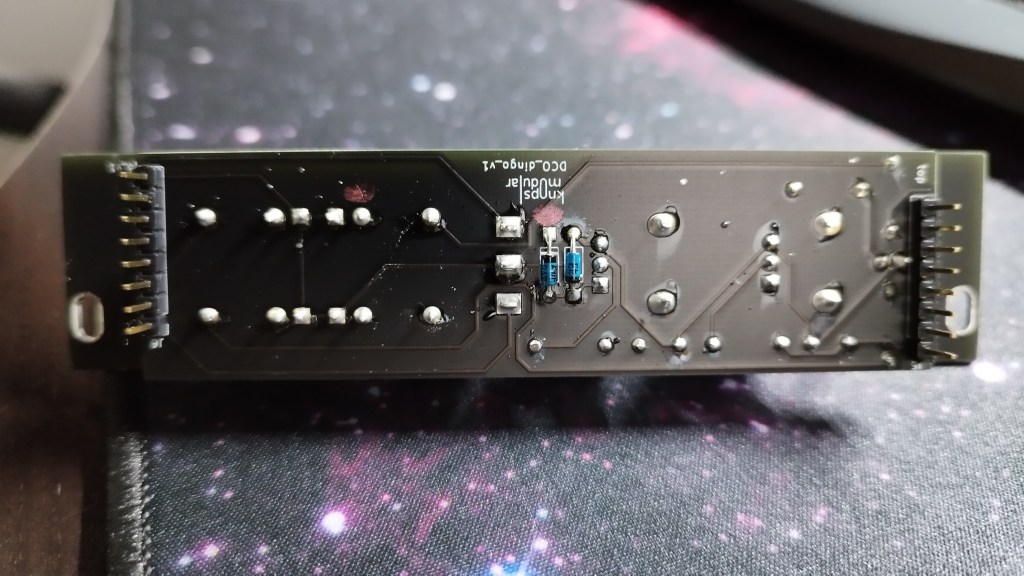
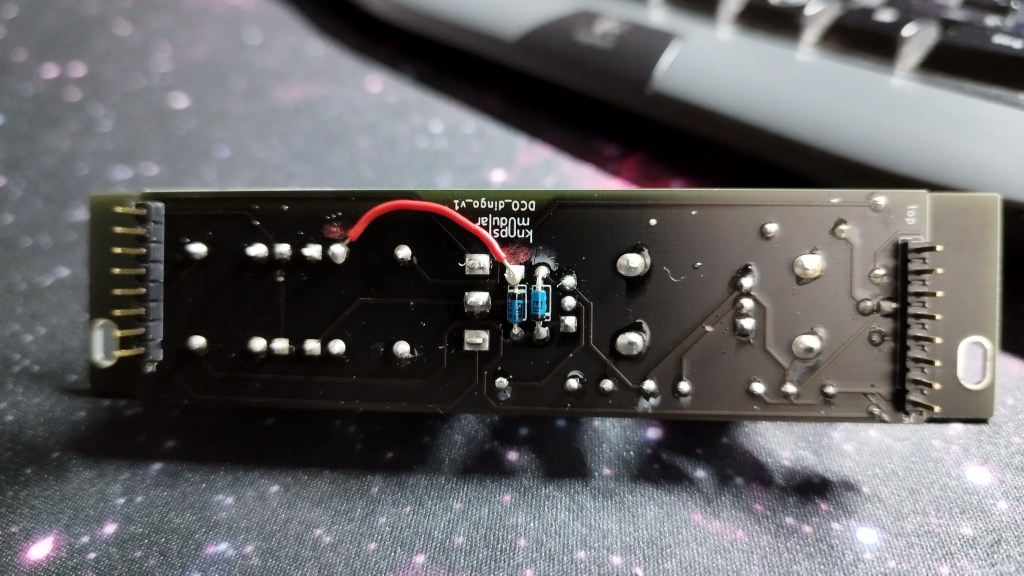
DCO DINGO
6hp – Arduino Nano based wavetable oscillator. 1v/oct and VCA (gain) included. Also wave is selectible via CV as well. All inputs take 0-5V readings and are protected agains overvoltage and reverse voltage. The module has one multiturn trimmer in the back to set the output amplitude. It’s possible to distort the sound with it so be aware of that. sounds pretty cool! – interface: frequency pot, waveselect pot, octave switch (-1, 0, +1), wave select CV, gain CV(VCA), 1v/oct, output
OUT OF STOCK! – version 2 out soon!
build info: Arduino Nano USB points to the top of the module!
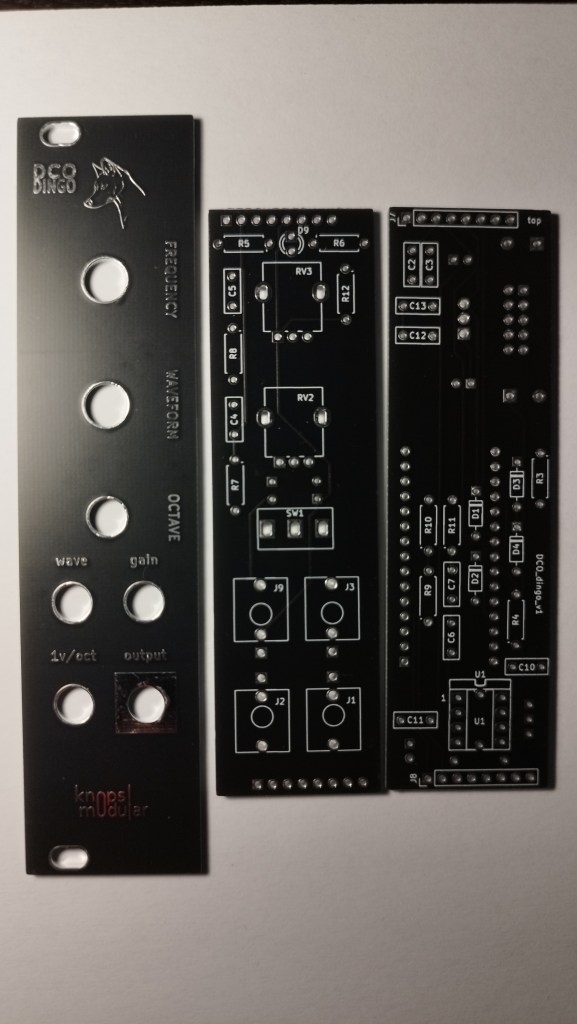
build info: there’s a small fix you can add to make the gain CV usable as linear VCA. I updated the code and in version 1.1 I changed the gain tables used. Fix is to add +5V to the switch pin of the gain jacksocket. This doesn’t do any harm if you keep the old version software but is necessary if you wanna upgrade the firmware to v1.1! So the hardware fix is backwards compatible.
8-bit drum
4hp – attiny85 based LO-FI drum module – please don’t expect clean sound it has “character”.
the module takes a trigger or short gate (indicator led doesn’t light up properly using triggers 😄 ) and plays the sound that is selected via sample select and frequency select. The pots are used for manual selection of parameters. When CV is used they are in attenuator mode. the lfp can be used to filter out some of the digital noise and to remove pop to any degree and it plays nice with the gain stage that can be overdriven and clips at the rails. It takes triggers up to audio frequency. HF!
All inputs take 0-5V readings and are protected agains overvoltage and reverse voltage.
Attention: when powering the case it may be a few seconds of glitching output until the buffer of the attiny settles and is usable.
– interface: sample select CV and pot, frequency CV and pot, trigger input, lpf pot, gain pot, output.
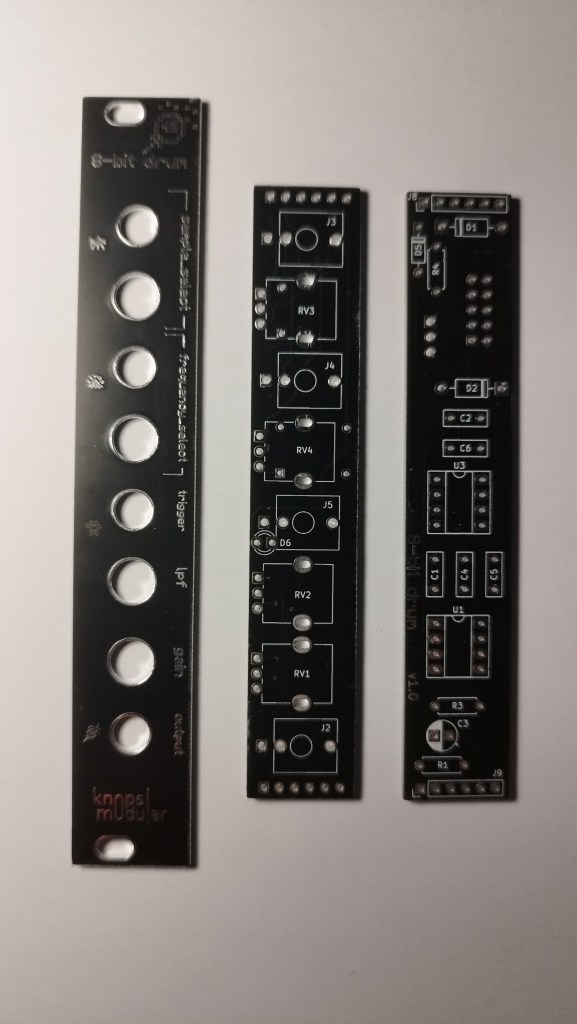
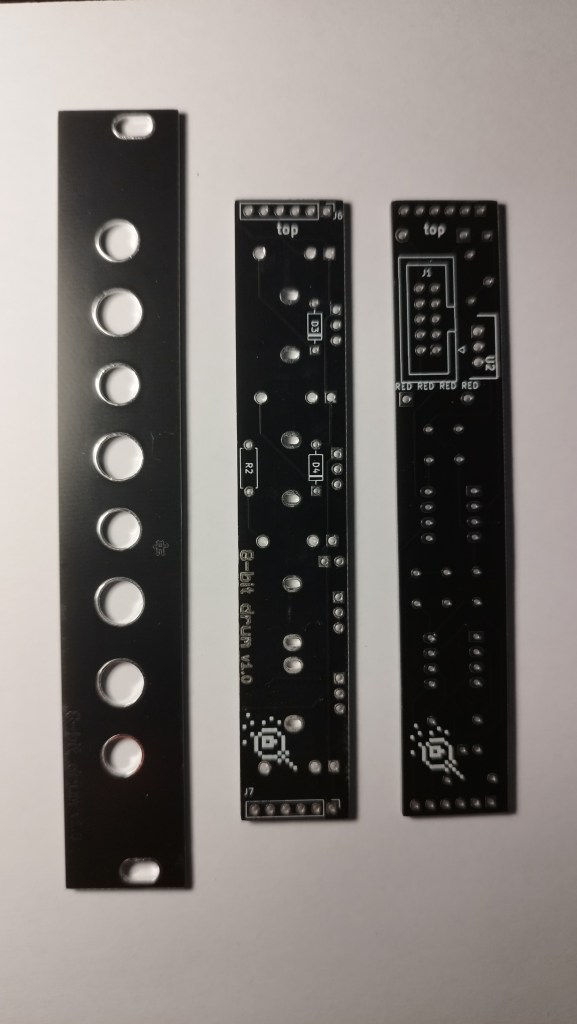
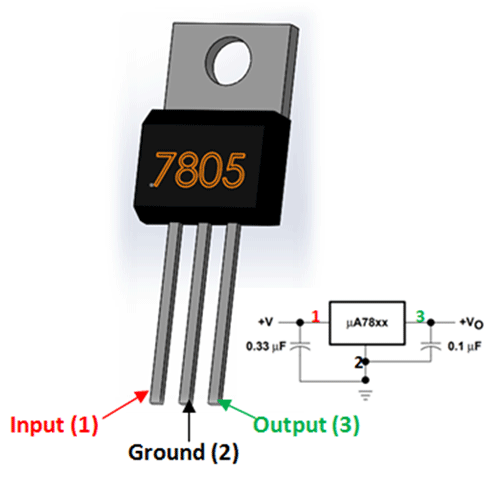
build info: check if your electrolytic cap on C3 is bigger than you header pins, if so just mount it on the backside (where IDC header ist). 7805 footprint info: pin 1 is the hole with the square.
FISHY LEDS
2hp – CV source that has 4 blinking LEDs and an output attenuator to generate semirandom stepped voltages. You can either use the internal 12V or input a CV signal yourself that should be above 3V to excite the LEDs properly. – interface: CV input, attenuator pot, CV output
Currently OUT OF STOCK!

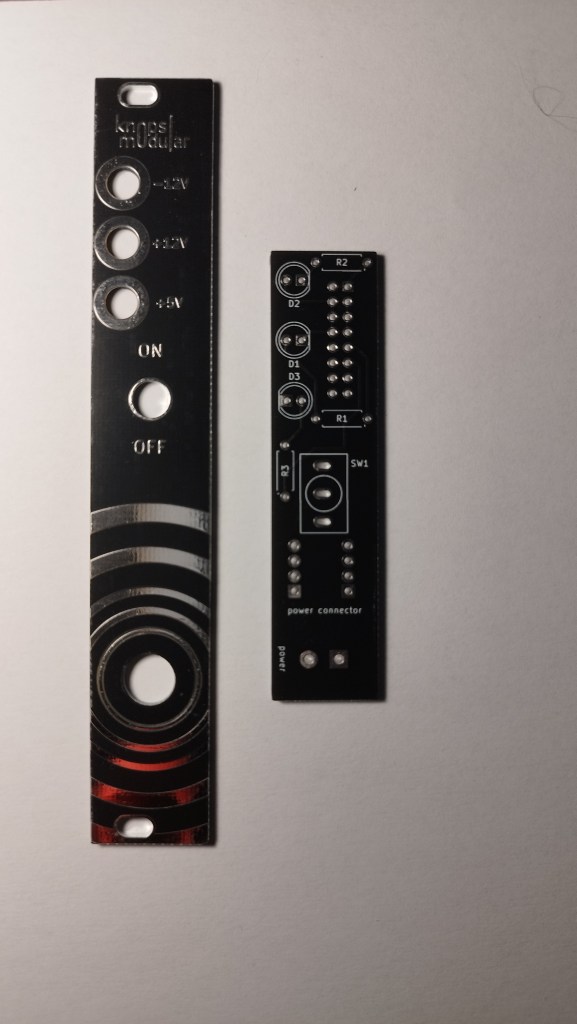
POWER MODULE
Just for documentation purposes. The power module isn’t really of much use for most people. I’m using a switching PSU so I input 20V DC and I get +-12V at the output. This module just shows me the led indicators for most people got on their powerbuses and switch the supply on and off.
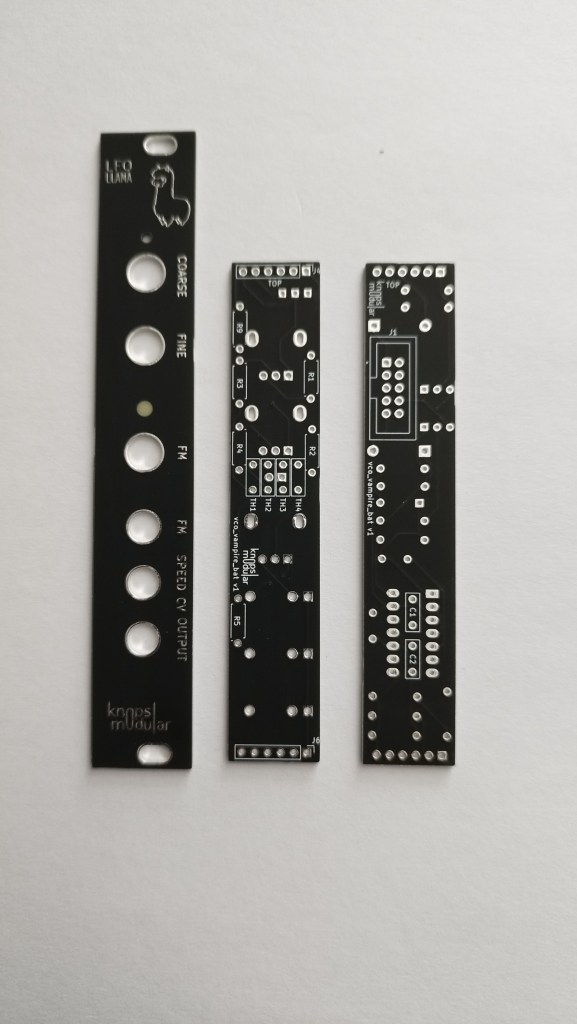
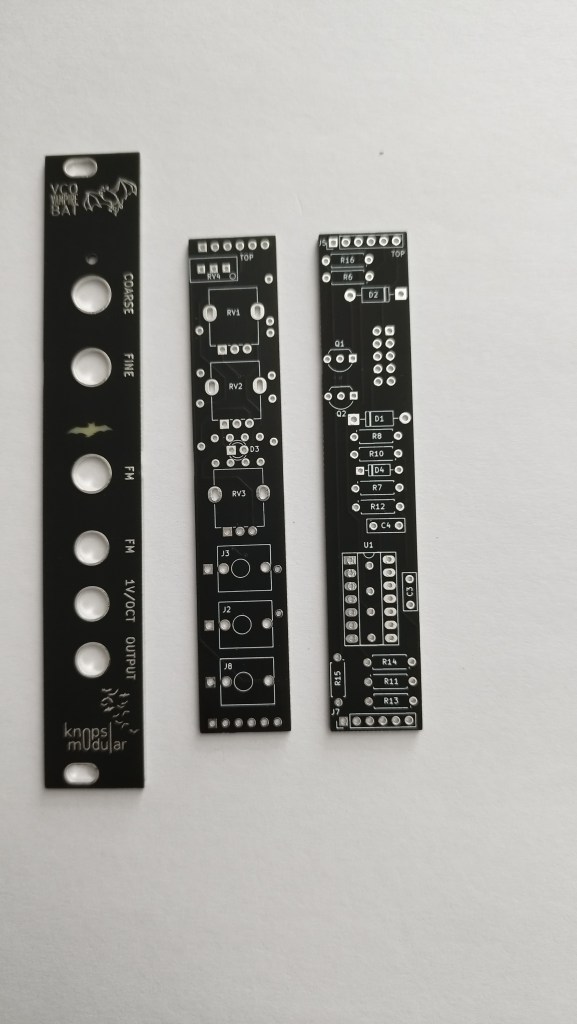
VCO VAMPIRE BAT / LFO LLAMA
This module has a feontpanel you can switch. The simple saw Core VCO is alright but you can also use it as VCLFO (also saw waveform obviously) and just change the timing cap C3 to something like 100nF.
build info: the orientation of Diode D4 on the PCBs silk is wrong. Please put it in with the strip the other way.

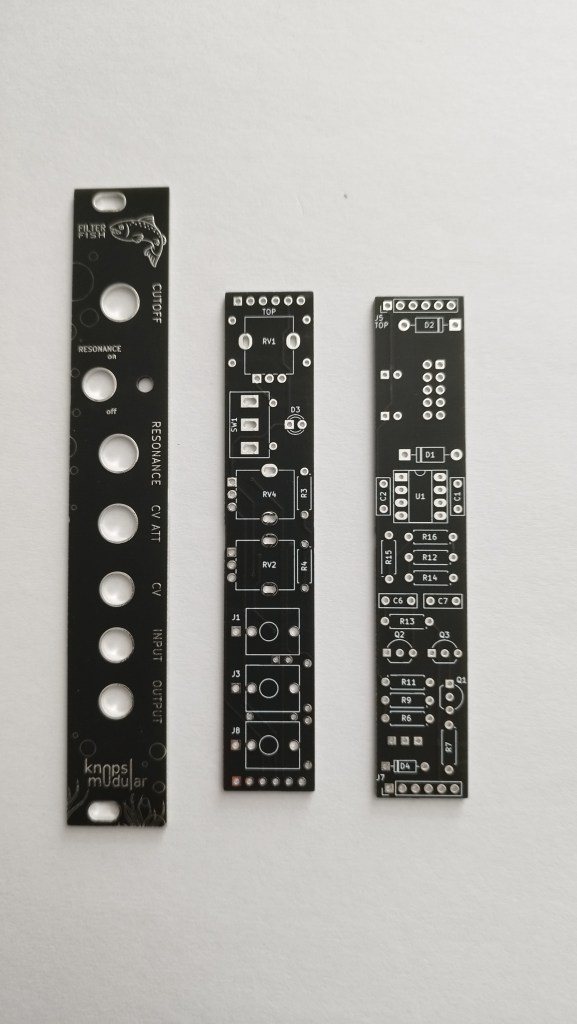
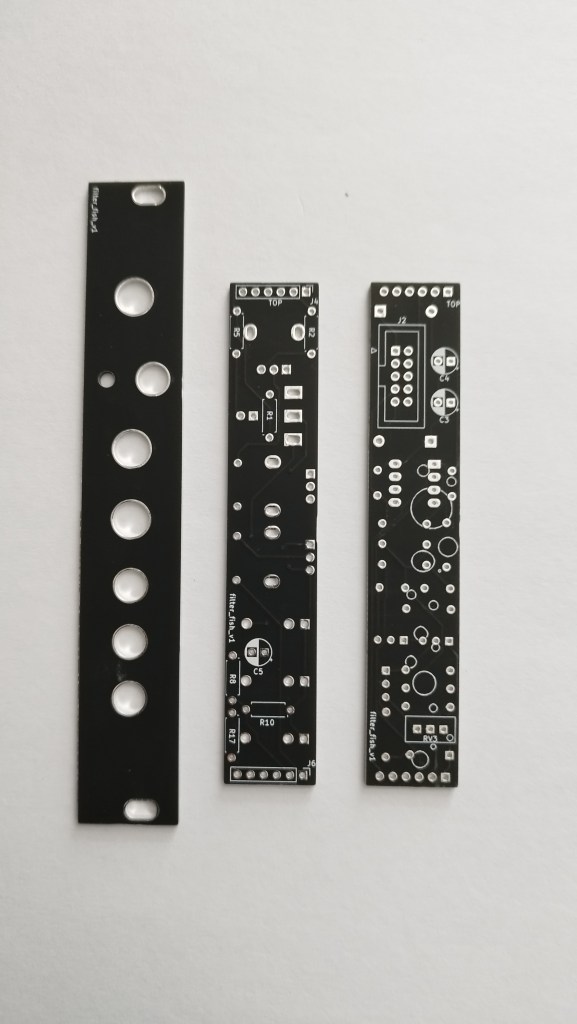
FILTER FISH
The filter fish is a dirty filter, so there’s no option to get a clean output, but it’s a world class resonator. It has a low distortion option with the resonance path mostly off through the toggle switch, and a thundering resonance with all knobs and switches on. All knobs and switches do change sound and interact with each other to some degree.
Check out my Instagram for the demo video ☺️
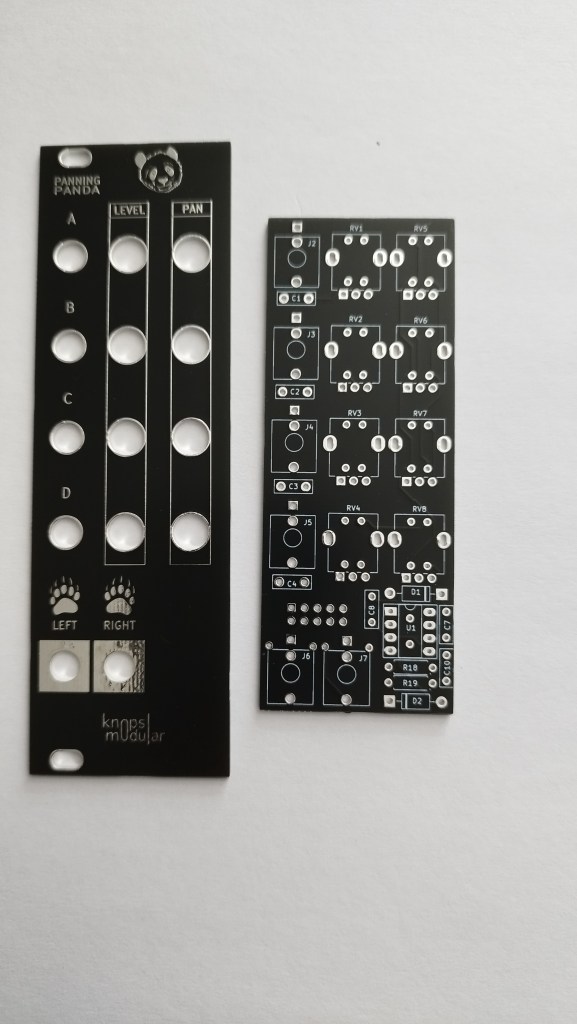
PANNING PANDA 🐼
Four mono inputs with attenuation and panning options. Two outputs namely Left and Right (but I’m not sure if that’s right 😅)
The panning panda was born out of necessity. I had everything but a stereo option and it just worked out perfectly. It is super shallow so should fit any skiff case out there. At the moment it only has one problem that the PANNING pots are reversed as it seems so left is right, but that can be solved with patching the outputs reversed easily. Maybe I’ll do a revision someday.

Serendipity
Serendipity got it’s own page HERE
SLIDER SPIDER v2
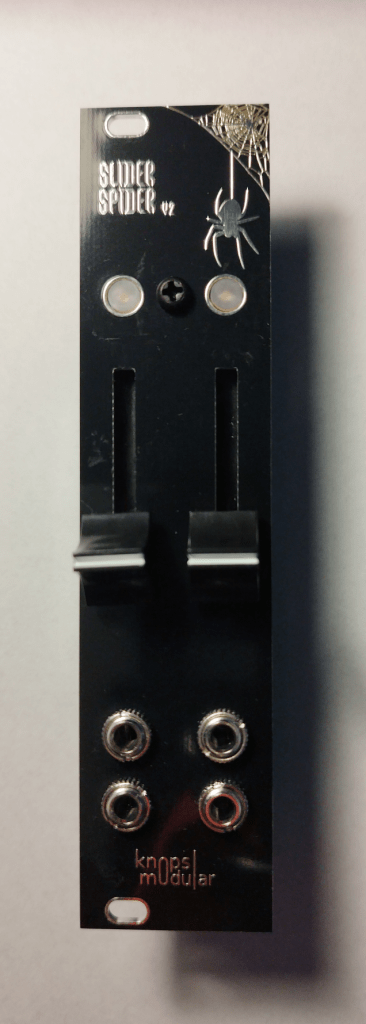
The SLIDER SPIDER v2 has it’s own page HERE
